
A Malaysian Maker Squeezed 500 Days of Battery Life Out of an ESP32. The Display? Drawn in a Browser.
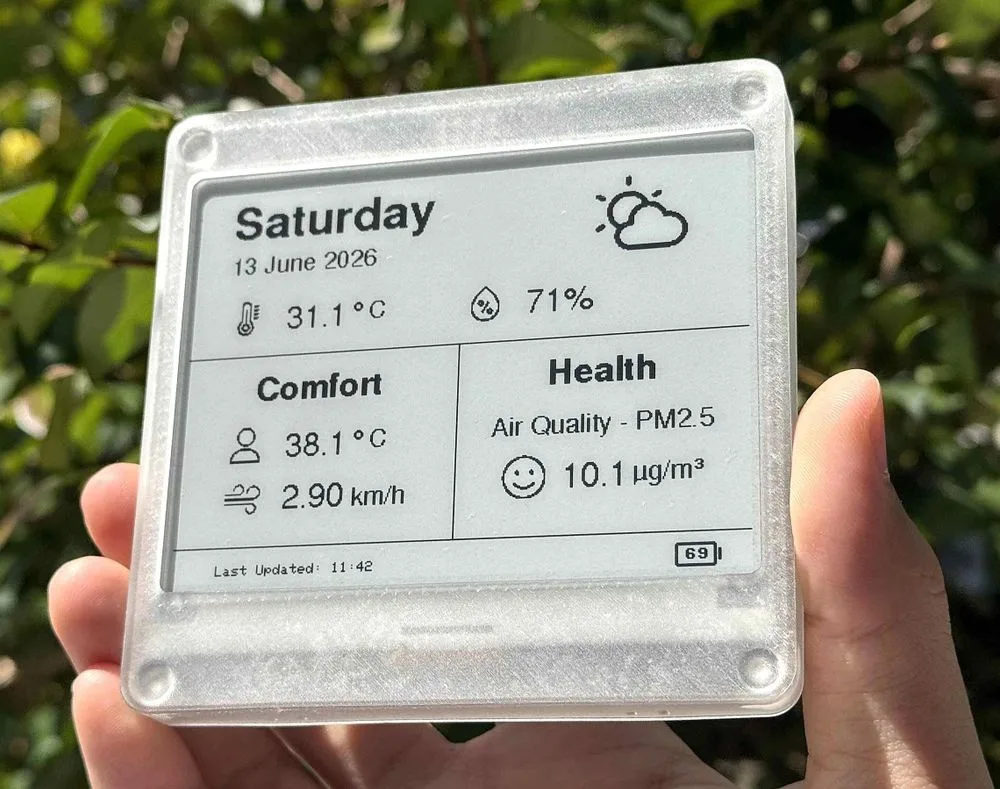
Most weather stations are chunky little bricks that beg for a charger every couple of weeks. WeatherPaper V2 goes the other way. It is 11.6mm thin, sits flush on a wall like a piece of frosted decor, and runs for over 500 days on a single charge.
The builder is Jeremy Ngai, a hobbyist from Malaysia with a straightforward motto: engineering is fun once you start making what you like. We came across the build, fell for it, and wanted to share it, partly because Lopaka earned a spot in his toolkit.
The itch: V1 was great, and that was the problem
WeatherPaper V1 worked. It looked good. And Jeremy could not stand it. It was bulky, power hungry, and the inefficient hardware left room for only a tiny 500mAh battery. He pinned one ruthless goal to the wall for V2: more than a year of battery life.
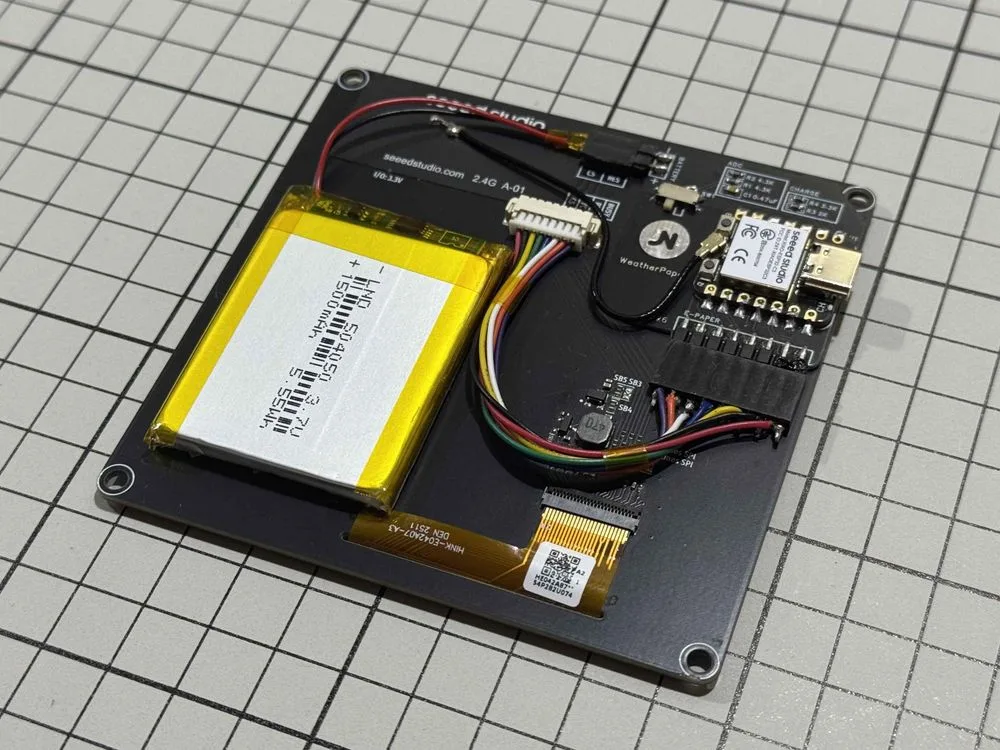
Everything else followed from that number. He moved to a 4.2 inch black-white e-paper display, swapped the generic dev board for a Seeed Studio XIAO ESP32-C3 with its built-in charger and 44uA deep sleep, and designed a custom PCB to shrink the whole thing down. The battery grew from 500mAh to 1500mAh. The device got thinner anyway.
The part builders skip: the screen has to look good
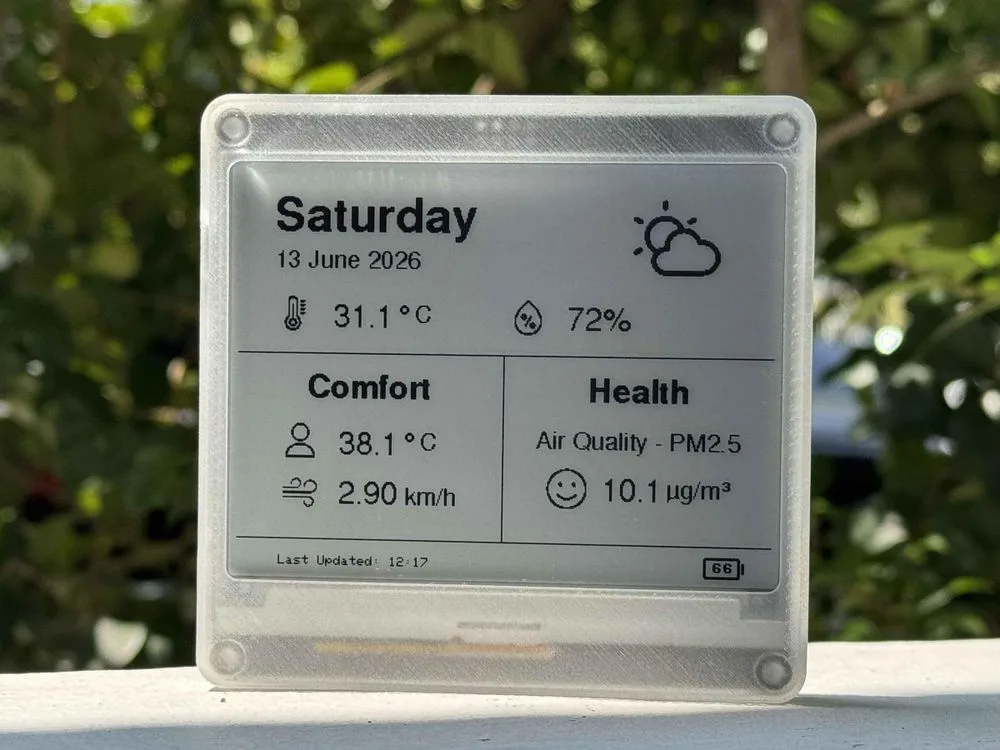
E-paper punishes you here. The hardware can be perfect, the firmware can sip power like a monk, and none of it matters if the display looks like a spreadsheet. You glance at WeatherPaper and read four things: Air Quality Index, feels-like temperature, wind speed, weather condition. Clean icons, sensible hierarchy, nothing shouting.
That means monochrome bitmaps, and on embedded displays bitmaps are where the fun goes to die. The classic route: draw an icon somewhere, export it, run it through image2cpp, copy a wall of hex into a bitmap.h file, flash, and squint at the result. Get a pixel wrong, do it again.
Where Lopaka fits
Jeremy points builders to Lopaka for this step: designing the monochrome icons and getting them out as usable code. You place your graphics on a canvas the size of your actual screen, drag things until they look right, and export. No blind byte arrays, no guessing whether that 32 pixel icon will land where you think it will.
It suits WeatherPaper because the firmware runs on GxEPD2, one of the libraries Lopaka generates code for. Draw the layout, pick GxEPD2, copy the output. When Jeremy wants to swap an icon later, he redraws it instead of digging through hex.
His documented workflow stays hackable. Want the UV index instead of wind speed? Change one JSON key. Want your own icons instead of his? Redraw them and drop in the new arrays. The display stays yours.
The payoff: doing less, on purpose
The battery math is the fun part. Every 30 minutes the ESP32 wakes for about 4.3 seconds, grabs weather from OpenWeatherMap, refreshes the screen, and drops back into deep sleep. Jeremy squeezed that wake window hard: CPU downclocked to 80MHz, DHCP skipped with a static IP, HTTPS traded for plain HTTP on public data, HTTP Keep-Alive to batch the requests.
Add it up and each cycle burns roughly 0.049mAh. Against a 1500mAh battery that pencils out to over 15,000 hours, north of 600 days on paper and a comfortable 500-plus once you account for real-world losses. XDA Developers picked up the whole build.
His conclusion says it best: the longest battery life came from doing less, not adding more. The same holds for the display. The cleanest e-paper UI comes from designing it on a canvas, not hand-coding it in hex.
Build your own
Jeremy open-sourced everything, firmware, PCB Gerbers, and 3D files, in his WeatherPaper GitHub repository. If you are building for an OLED, TFT, or e-paper screen and you would rather draw your interface than assemble it byte by byte, that is what Lopaka is for. Sketch a screen, pick your library, ship the code.
Credits
WeatherPaper V2 and photography by Jeremy Ngai. Read the full build guide on Instructables or explore the source files on GitHub.